Coming Soon
This project is being tested and polished. Check back soon!
Parent info
Parts you need
Affiliate links — we may earn a small commission
Safety first — seriously: These projects involve motors, propellers, and projectiles. Adult supervision is required for ages 14–16. Always wear eye protection when testing NERF mods. Never fly drones near people, airports, or above 120m altitude. Follow your country’s drone laws — they exist for real reasons. Being cool means being responsible. Own it.
You want to build something that makes your friends actually put their phones down.
Not a blinking LED. Not a weather station. Something that FLIES. Something that AIMS. Something you designed, wired, programmed, and turned on with your own hands while everyone else watches with their jaw on the floor.
That’s this article.
Six projects. Three involve drones. Three transform NERF blasters into something that looks straight out of a video game. All of them use an ESP32 as the brain — a $12 chip that is somehow capable of flight control, computer vision, wireless telemetry, and real-time targeting. Not kidding.
Let’s build something legendary.
DRONE PROJECTS
1. ESP32 Mini Quadcopter (Build Your Own Flight Controller)
Cool Factor: ★★★★★ | Difficulty: Advanced | Time: ~8 hours | Cost: ~$60–80
This is the hardest project on the list. It’s also the most insane thing you’ll ever hold in your hands when it actually hovers.
You are going to build a flying machine. From scratch. With a $12 chip as the brain.
Why This Is Different
Yes, commercial flight controllers running Betaflight exist and they fly better than what you’ll build. That’s not the point. Building your own flight controller teaches you PID control theory, PWM motor timing, inertial measurement, real-time feedback loops — concepts that aerospace engineers use. You will understand things that people with computer science degrees don’t know because they never had to make something stay in the air.
What You Need
- ESP32-S3 Dev Board — $12
- 4x brushless motors (1104 or 1106 size, 4000–7500KV) — $20
- 4x 5A ESCs (Electronic Speed Controllers) — $15
- 4x 3-inch propellers (2 CW + 2 CCW) — $5
- MPU6050 IMU (gyroscope + accelerometer) — $3
- Mini LiPo battery (450–650mAh, 2S) — $10
- Frame — 3D print one or buy a 100mm carbon fiber frame — $8
- XT30 connector + wiring — $3
How It Works
The MPU6050 reads the drone’s orientation 500–1000 times per second. The ESP32 runs a PID controller that compares where the drone IS versus where you want it to BE, then adjusts all four motor speeds to correct the error. Fast enough, and it stays level. Too slow, and it flips. The whole game is getting that loop tight and your PID values tuned.
Key libraries: ESP32 Arduino Core for PWM, I2Cdev + MPU6050 library for the IMU, write your own PID (it’s 20 lines of math — you can do it).
Build Order
- Build the frame and mount everything mechanically
- Wire the ESCs to motors and power
- Get the MPU6050 talking to ESP32 over I2C
- Write the PID loop and test on bench (motors only, no props)
- Tether the drone to a string attached to a table — first hover test with safety backup
- Tune PID gains (this takes the most time — be patient)
- First free hover at 20cm above a soft surface with eye protection on
3D Print
Print a 100mm quad frame in PETG or ABS (not PLA — it’s too brittle for crashes). Search Printables for “100mm micro quad frame” — dozens of free designs. Also print motor guards.
The Honest Truth
Expect crashes. Expect to reprint parts. Expect to spend more time tuning than building. The moment it hovers steady for 10 seconds under your control is one of the best feelings you’ll ever get from electronics. It’s worth every frustrating hour.
2. FPV Ground Rover (Drone Experience, Zero Crash Risk)
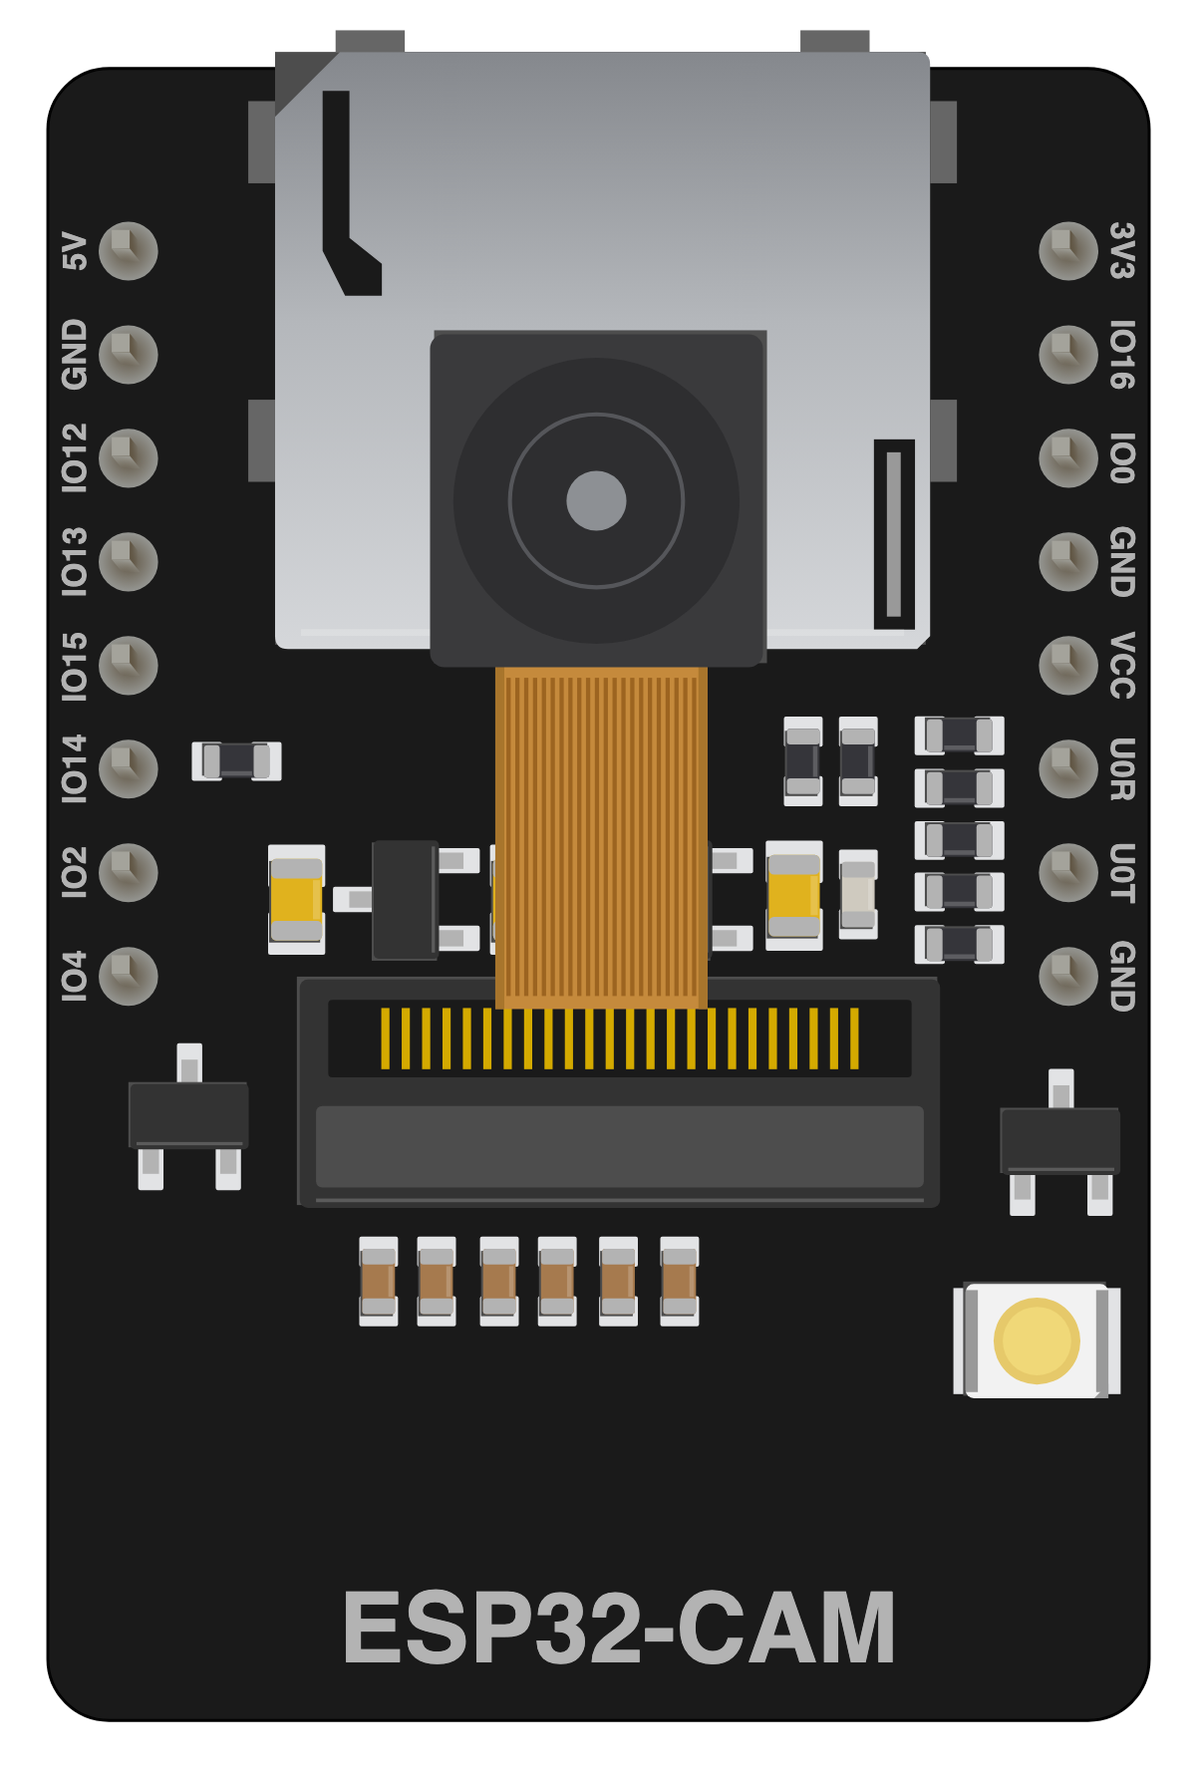
Cool Factor: ★★★★☆ | Difficulty: Medium | Time: ~3 hours | Cost: ~$30
Same FPV adrenaline as a drone. None of the “I just hit the ceiling” consequences.
Strap an ESP32-CAM onto a wheeled robot chassis, stream live video to your phone, and drive it around using on-screen joystick controls. Explore under furniture. Send it into rooms before you enter. Follow the dog. Discover what your cat does at 3am. The possibilities are genuinely excellent.
What You Need
- ESP32-CAM Module — $8
- 2WD robot chassis kit (2 motors + wheels + frame) — $10
- L298N motor driver — $3
- 18650 battery holder + 2x 18650 cells — $6
- Jumper wires — $2
How It Works
The ESP32-CAM runs a web server that streams MJPEG video to any browser on your WiFi network. The same web page has four direction buttons (or joystick if you add JavaScript). Button press → HTTP request → ESP32 controls L298N motor driver → wheels turn. Open the page on your phone, go full screen, and you have FPV.
Key libraries: ESP32 Arduino Core, ESP32-CAM WebServer example (built in — it’s basically free code you just modify for motor control).
Upgrade Path
Add a servo to pan the camera left/right. Add ultrasonic sensors for collision detection. Add a gripper arm. This thing can keep growing for months. Start simple, get it driving, then go wild.
Why This Rocks
You can do this project in an afternoon and have something genuinely cool to show. It’s the fastest path from “I want FPV” to “I have FPV.” No drone laws. No propellers. No ceiling damage. Pure exploration.
3. Drone GPS Tracker / Lost Drone Finder
Cool Factor: ★★★★☆ | Difficulty: Medium | Time: ~3 hours | Cost: ~$25
You spent $200 on a hobby drone. It gets a signal glitch. It “returns to home” into a tree three blocks away. You have no idea where it is.
This never happens to you again.
What You Need
- 2x ESP32-S3 Dev Board — $24 (one for drone, one for ground)
- 2x LoRa module (SX1276, 433MHz or 868MHz) — $10 total
- NEO-6M GPS module — $6
- Small OLED display (0.96”) — $3
- Small LiPo for the tracker unit — $5
How It Works
The tracker unit (on your drone): GPS module reads coordinates every second. LoRa radio transmits lat/long every 2 seconds. Weighs about 15g — fits on almost any hobby drone.
The ground station (in your hands): LoRa receiver picks up coordinates. ESP32 displays them on OLED. Also calculates distance and direction from YOUR current GPS position (add a second GPS to ground unit for this).
If your drone loses signal and auto-lands somewhere, the tracker keeps broadcasting. Walk toward the direction shown on your display. Find drone.
Key libraries: TinyGPS++ for parsing GPS NMEA data, RadioHead or LoRa.h for SX1276.
Range
LoRa at 433MHz has line-of-sight range of 2–5km in open areas. More than enough to find a lost drone.
Bonus Use
Attach to a backpack for hiking. Track a friend’s location at a festival. Build a two-unit system and you have walkie-talkie-style GPS — each person sees where the other is.
NERF PROJECTS
NERF Modding Ethics
Before we get into these builds, let’s be clear about what these projects are and aren’t.
What we’re doing: Adding electronics, sensors, displays, and automation to stock NERF blasters. These projects make your blaster SMARTER, not more dangerous.
What we’re NOT doing: Spring upgrades, motor upgrades, or any mod that increases projectile velocity. Higher-power NERF mods can cause real eye injuries. We don’t cover them. Not cool.
The rules:
- Always wear eye protection. Always. Even stock blasters can hurt eyes at close range.
- Never bring any NERF blaster — modded or stock — to school. This should be obvious, but it needs saying.
- These builds are for backyard wars, home defense of your room, and science. Keep them there.
- Point them at people who are playing the game and wearing protection, nobody else.
4. NERF Auto-Turret (Motion-Detecting Room Guardian)
Cool Factor: ★★★★★ | Difficulty: Medium | Time: ~4 hours | Cost: ~$30 + any NERF blaster
Your room has a door. That door is a vulnerability. Not anymore.
What You Need
- ESP32-S3 Dev Board — $12
- 2x servo motors (MG996R, strong enough to aim a blaster) — $8
- PIR motion sensor — $2 (or ESP32-CAM for face detection — $8)
- Servo pan/tilt mount bracket — 3D print it — free
- Power supply (servos need more current than USB can give) — use a 5V 3A adapter — $5
- Zip ties, hot glue, mounting hardware — $3
How It Works
Two servos create a pan/tilt mount. Your NERF blaster sits on it. The PIR sensor (or ESP32-CAM running face detection) detects movement at the door.
Detection mode: Target enters frame → ESP32 calculates position → sends angle commands to both servos → turret tracks the target.
Fire mode: If you wire a servo or solenoid to the trigger, it can fire automatically. Run this mode only with a “fire enable” switch that requires deliberate activation — don’t leave an auto-firing turret running unattended.
Safe mode: Detection and tracking only — no fire. This is the mode you demo to parents first.
3D Print
Print a pan/tilt bracket that fits your specific blaster. Search Printables for “servo pan tilt mount” and find one that works, or design your own in TinkerCAD. Print in PLA — this doesn’t need to be super strong.
The Code Approach
PIR detects → set armed = true
If armed: read PIR/camera position data
Calculate servo angles to point at target
Write angles to pan servo + tilt servo
Optional: if fire_enabled AND target_centered: trigger fire servo
Libraries: ESP32Servo library for smooth servo control, esp32-camera + face_detection example if using CAM version.
The Demo Move
Show it in tracking-only mode first. When it swivels to follow movement across the room on its own, the reaction from anyone watching is always the same. Then casually mention it can also fire.
5. NERF Ammo Counter + Battle HUD
Cool Factor: ★★★★☆ | Difficulty: Easy | Time: ~2 hours | Cost: ~$15
Every FPS game has a HUD. Your NERF blaster doesn’t. That changes today.
What You Need
- ESP32-S3 Dev Board — $12 (or tiny ESP32-C3 for smaller form factor)
- OLED display 0.96” (SSD1306, I2C) — $3
- IR break-beam sensor (emitter + receiver pair) — $4
- Optional: IR receiver module for “got hit” vest — $2
- 3D printed mount for your specific blaster — free
How It Works
The IR break-beam sensor sits across the dart barrel. When a dart flies through the beam, it breaks it for a few milliseconds — the ESP32 counts that as one shot fired. Ammo display counts down from whatever you loaded.
The OLED shows:
- Shots remaining (big, readable under pressure)
- Total shots fired this session
- Optional: “HIT” indicator if wearing an IR receiver vest
The Vest Add-On
Wire an IR receiver to a vest or headband. When another player with an IR-equipped blaster fires toward you and the IR receiver picks up a “hit” signal, your ESP32 registers it and flashes “HIT” on the HUD. Real FPS mechanics. Real NERF war.
3D Print
Print a small enclosure that clamps onto your blaster’s rail or barrel. Most NERF blasters have a tactical rail on top — design a clip that snaps onto it. The OLED faces you (the shooter) and the IR emitter/receiver brackets around the barrel.
Code Sketch
Set starting ammo. Attach interrupt to IR break-beam pin. On interrupt: ammo--, update display. If ammo == 0: display “RELOAD” and flash. Button to reset count when you reload.
6. NERF Chrono — Speed Radar for Your Arsenal
Cool Factor: ★★★☆☆ | Difficulty: Easy | Time: ~1.5 hours | Cost: ~$10
Pure science. Pure competition. Which blaster is actually fastest?
What You Need
- ESP32-S3 Dev Board — $12 (you probably have one by now)
- 2x IR break-beam sensor pairs — $6
- OLED display 0.96” — $3
- Small 3D-printed gate to hold the sensors exactly 10cm apart — free
How It Works
Two IR beam pairs sit exactly 10cm apart. Dart breaks beam #1: start timer. Dart breaks beam #2: stop timer.
speed = distance / time = 0.1m / elapsed_seconds
Multiply by 3.28 for feet per second, or 2.24 for mph. Display on OLED. That’s it. That’s the whole physics experiment.
What You Can Do With It
- Run every blaster in your collection through the chrono — make a leaderboard
- Test different dart types (heavier = slower, usually)
- Set up a “speed trap” at your NERF arena and track stats across multiple players
- See if temperature affects dart speed (it does, slightly)
- Document results in a notebook — this is actual experimental science
The Competitive Angle
Print “OFFICIAL CHRONO” on the OLED housing in big letters. Every serious NERF war group wants to know whose blaster is fastest. You’re now the official timekeeper. That’s power.
Build Notes
Precision matters here. The two sensors MUST be exactly the distance apart you use in the formula. Use a 3D-printed gate with fixed mounting holes to guarantee consistent spacing. Measure twice, print once.
Parts at a Glance
| Project | Core Parts | Est. Cost | Difficulty | Time |
|---|---|---|---|---|
| ESP32 Mini Quadcopter | ESP32-S3, MPU6050, 4x motors + ESCs, frame | ~$60–80 | Advanced | 8h |
| FPV Ground Rover | ESP32-CAM, 2WD chassis, L298N | ~$30 | Medium | 3h |
| Drone GPS Tracker | 2x ESP32, 2x LoRa, GPS, OLED | ~$25 | Medium | 3h |
| NERF Auto-Turret | ESP32-S3, 2x servos, PIR, mount | ~$30 + blaster | Medium | 4h |
| NERF Ammo Counter HUD | ESP32, OLED, IR break-beam | ~$15 | Easy | 2h |
| NERF Chrono Speed Radar | ESP32, 2x IR pairs, OLED | ~$10 | Easy | 1.5h |
Which Project Should You Build First?
You’ve never built electronics before: Start with the NERF Chrono (#6). Two sensors, one display, pure measurement. You’ll understand how sensors, timing, and displays work — skills you’ll use in every other project.
You want something to show people immediately: FPV Ground Rover (#2). Three hours and you have a working camera-bot streaming to your phone. The reaction when you hand someone the controls is instant.
You want the ultimate challenge: ESP32 Mini Quadcopter (#1). Clear your weekend. Tell your family you’re busy. This is the one you’ll talk about for years.
You want to win the next NERF war: NERF Auto-Turret (#4) for room defense, NERF Ammo Counter (#5) for battle ops. Build both. Dominate.
You have a DJI or hobby drone: Drone GPS Tracker (#3) first. Protect your investment before anything else.
Keep Building
These projects sit at the intersection of robotics, physics, and computer science. If the quadcopter hooked you, check out our full robotics guide — servo arms, walking bots, autonomous navigation. If you 3D printed parts for the turret or chrono and want to go deeper, our ESP32 + 3D Printer combo guide covers designing functional enclosures that actually look good.
The best part about being someone who builds things: you don’t wait for someone to invent the cool thing. You build it yourself, exactly the way you want it.
Now go make something that flies.